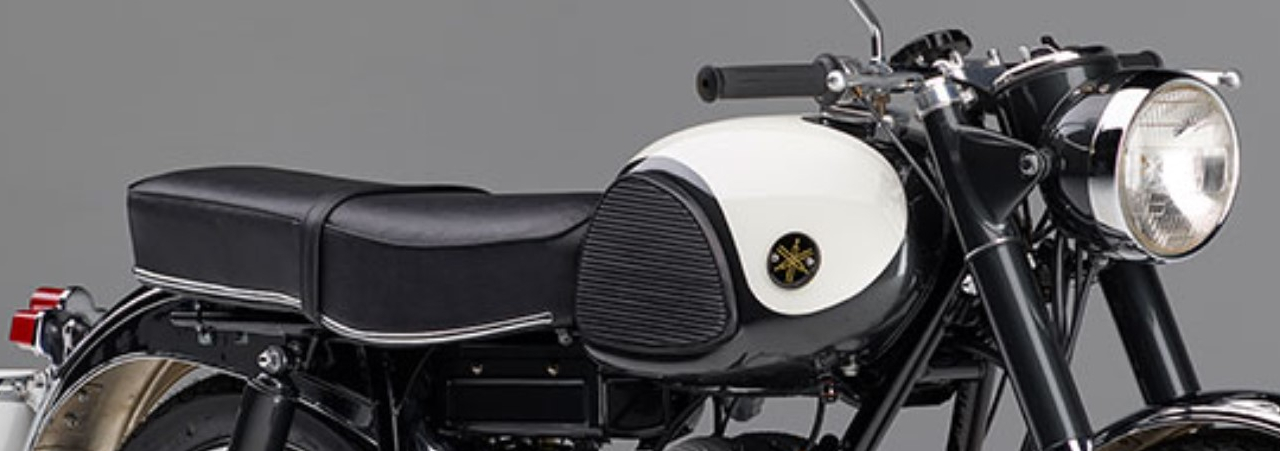
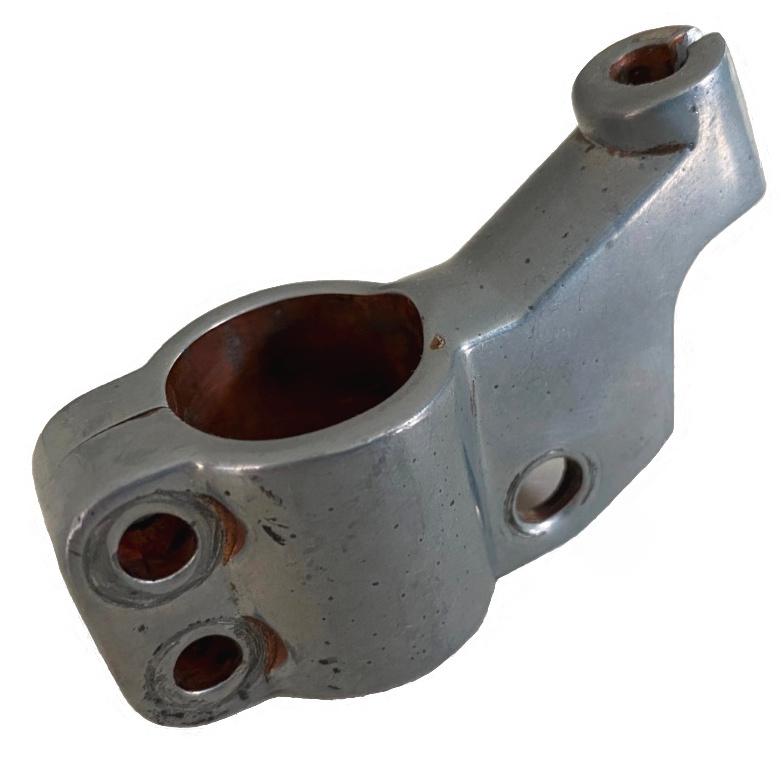
Background: Yamaha YDS 2s and YDS 3s were sold in the early to mid 1960s. These bikes, had a cable operated clutch and front brake. They used very similar brake bracket castings for both but were sided due to the brake lever pivot bolt holes. There is a slight difference between the YDS 2 and YDS 3 brackets, the latter, had a threaded cable adjuster. Also, the YDS 2 brackets were made from a different material, not exactly sure what, but it is much heavier than the aluminium YDS 3 version and has a copper like colour under the silver surface.
Apparently, castings of that era used a material that, over time and use, becomes more brittle. Being a brake or clutch bracket, these parts are among the first to take a hit if the bike is dropped or bumped. Many of the available parts have been broken and fixed at some point in the last sixty years. The physical examples we have seen have all been broken (usually around the handlebar clamp), welded, ground and polished back to shape. These parts are no longer available new from Yamaha.
Reverse Engineering: I was contacted in 2022 by Mervyn, a stand-up, salt of the earth type, gentleman and expert in these models and era of Yamahas. Mervyn’s main design requirement was to have remanufactured parts that were close replicas of the originals.
Mervyn asked for replacement brake brackets (sometimes referred to as perches) to be manufactured due to lack of availability of decent quality original ones. Mervyn sent me original parts to be used in the reverse engineering process.
The reverse engineering process began by measuring the original parts. These measurements were used to create 2D sketches of the key features and profiles.
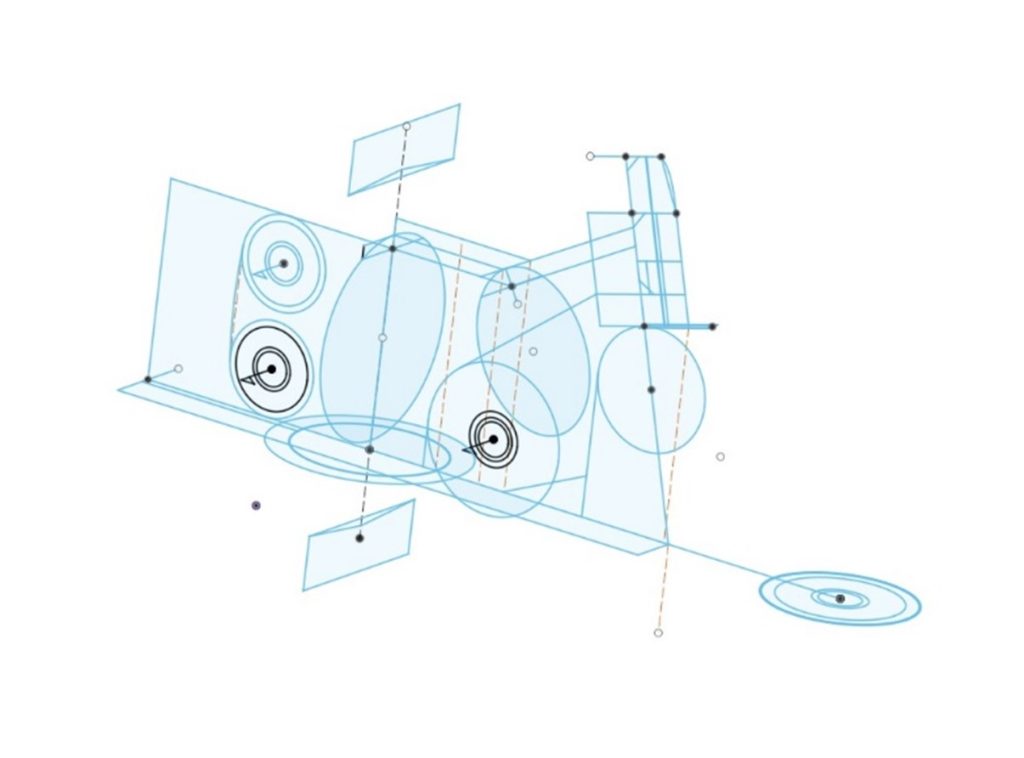
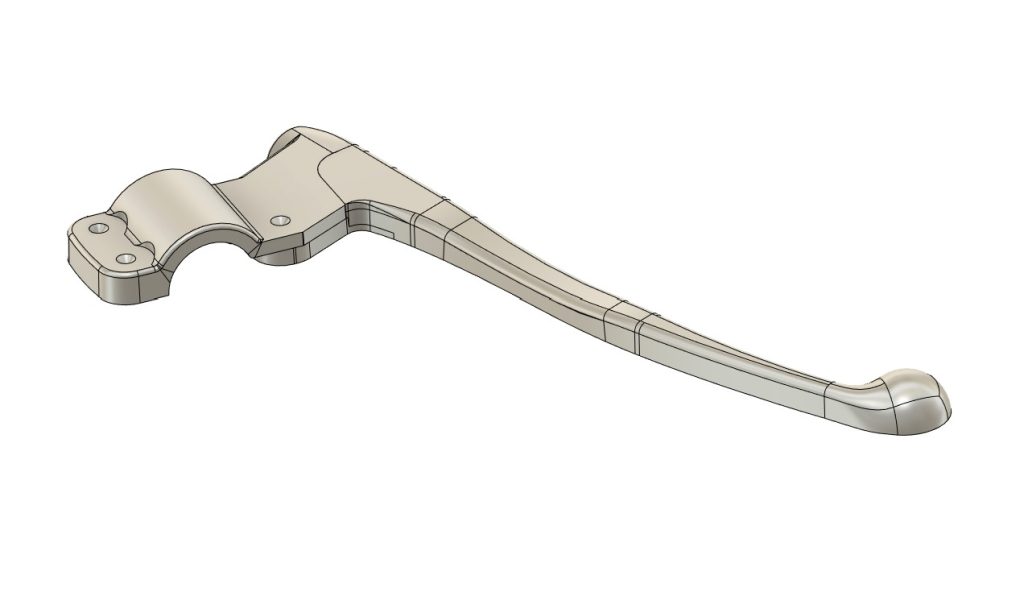
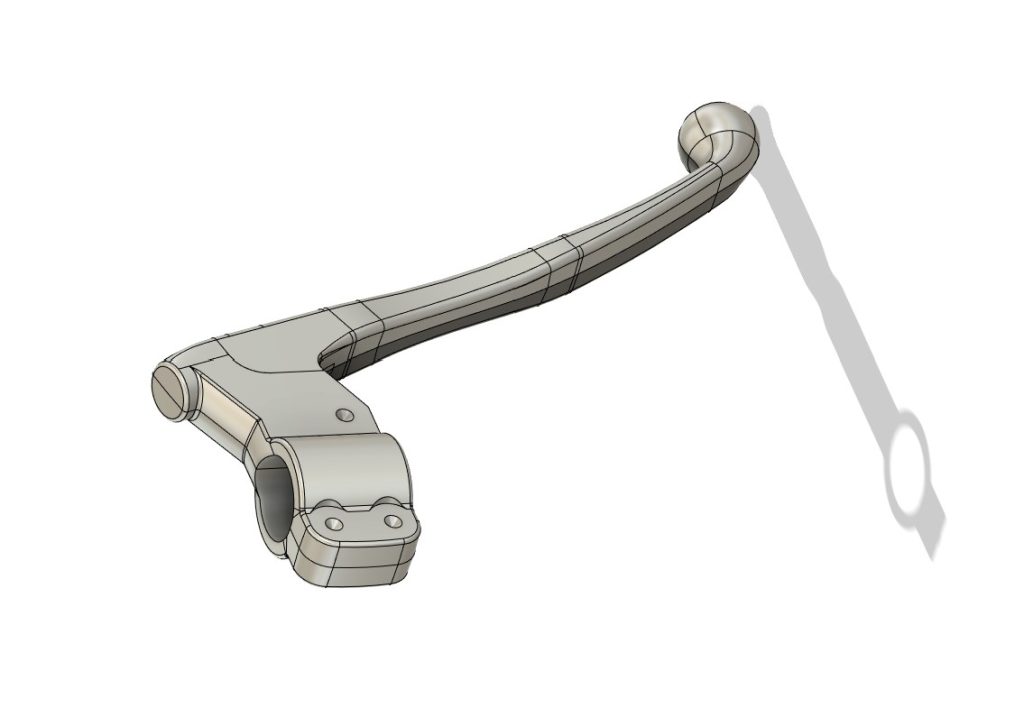
From these sketches all the necessary extrusions, sweeps, lofts, cuts, etc were made to create 3D digital versions of the original parts in CAD. A common technique we use is to create the part in symmetrical halves (as per the image below), then create a mirror and merge the halves. This can help reduce the time to model, nearly by half.
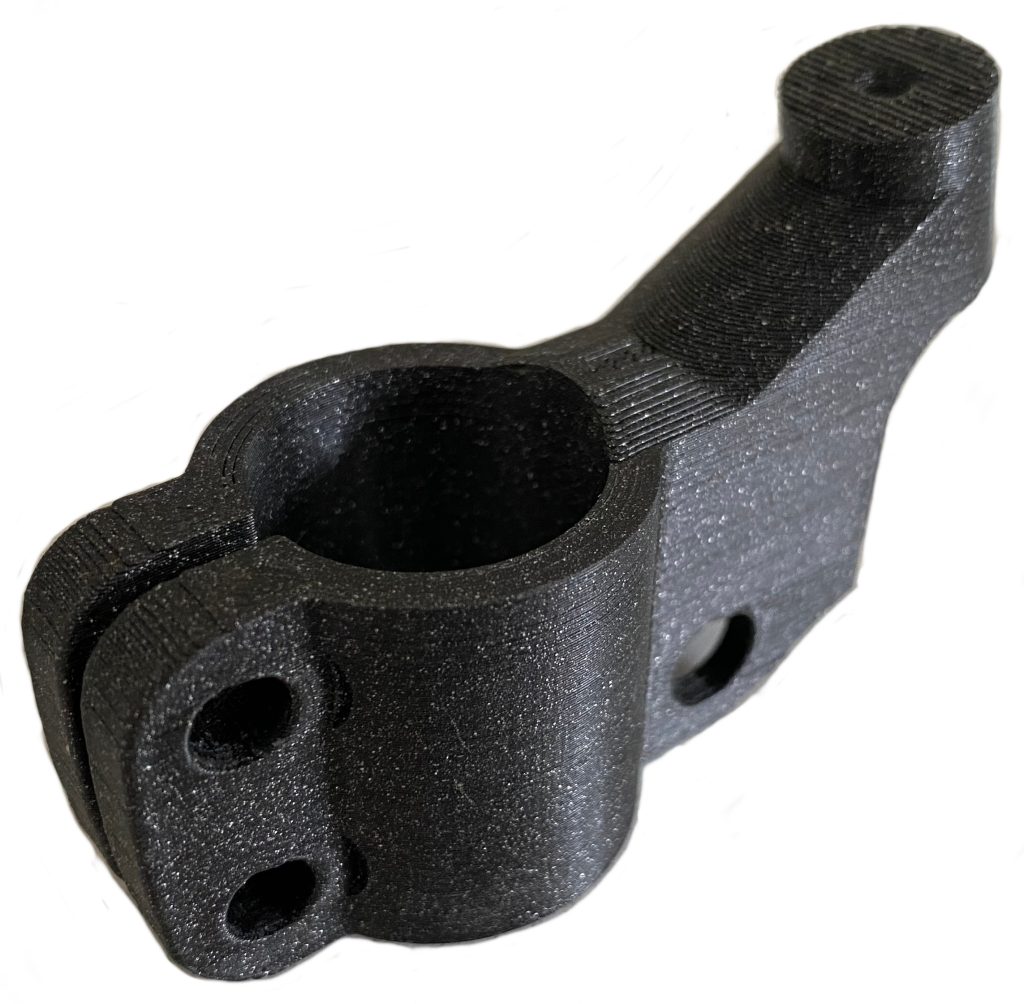
Rapid Prototyping and Design Review: Once the CAD was complete and we thought we had replicated the parts accurately they could be verified. We have a 3D printing capability using Fused Deposition Modelling (FDM). FDM printers use a ‘hot-end’ to melt plastic filament onto a heated bed or plate. The hot-end can move relative to the plate depositing plastic as it goes, layer by layer. FDM 3D printers tend to be cost effective, quite easy to get familiar with and produce decent quality parts so are therefore popular with home, hobby and small business. We use them primarily for prototyping during the design process and, of course, playing with. We have recently upgraded to versions of FDM printer that are more accurate, much faster and have controlled temperature enclosures to help with part consistency, accuracy and quality particularly during the colder months.
FDM printers are perfect for prototyping but, depending on the scenario, have limited use for production parts, especially if the part is to take load. The FDM process builds the parts in layers so depending on the orientation of the layers versus the load direction, the parts can tend to fracture along the layer lines.
An alternative to FDM 3D printing is Multi Jet Fusion (MJF). MJF printers don’t melt a filament, they deposit a layer of powder material onto the printer plate then use fusing and detailing agents and heat to bind the powder together where needed. Layers of powder are added and fused until the part is complete. This type of 3D printing technology can be expensive therefore is less popular with home users or hobbyists.
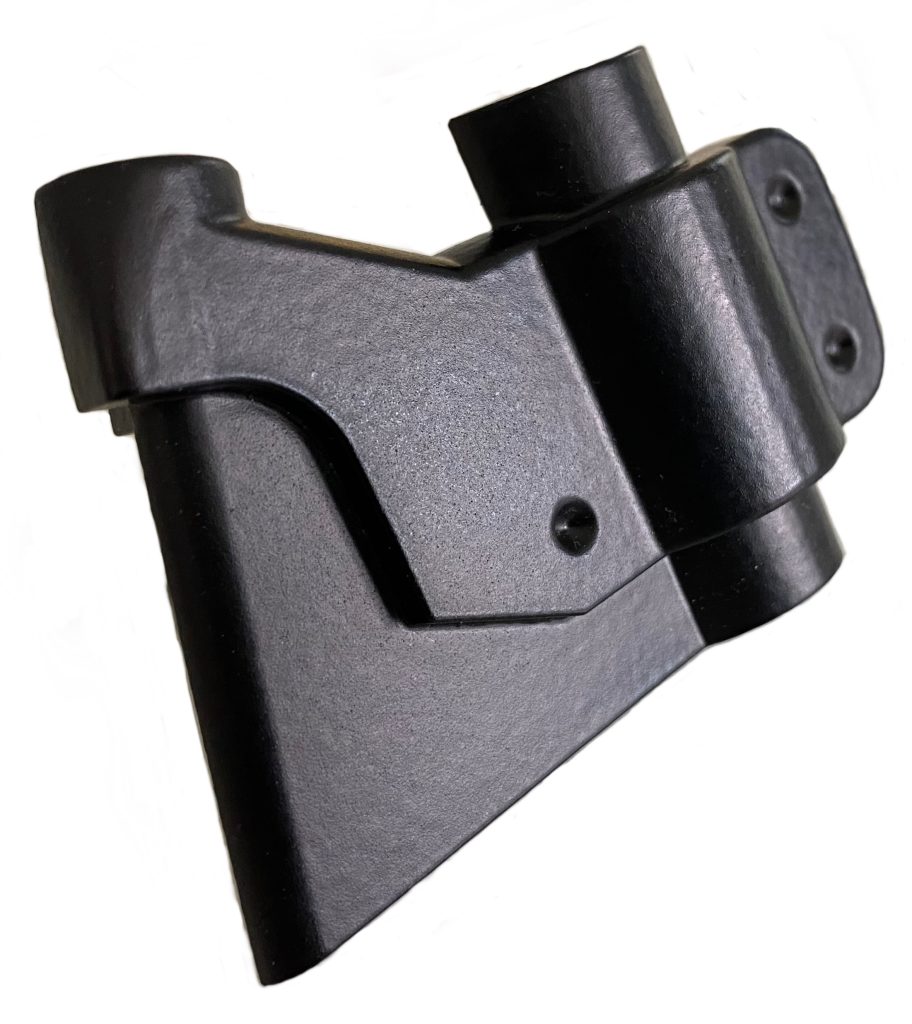
There are however a number of companies out there that provide a printing service for low and high order quantities. These services make high cost, high precision, high performance 3D technologies available to the masses. We have been working with Mark at All3Dlabs for a while now. Mark is super helpful and knowledgeable. The service he provides makes excellent quality, MJF 3D printed parts in Nylon PA12. The process is simple, requiring only the part data to be uploaded in Stereolithography (STL) format along with order quantities, colour, post processing requirements and a short while later the parts arrive on your doorstep – a ‘cake walk’.
Depending on the use case, parts printed in Nylon PA12, could be used as working or production parts. There are many factors to consider here but certainly the accuracy, surface finish, detailing, etc of this process lends itself to higher performing 3D printed parts – certainly when compared with FDM. There are numerous other technologies in addition to FDM and MJF. The suggestion here isn’t that FDM printed parts are no use, more that 3D print technologies all have their pros and cons. FDM prints are hard to beat if low cost, accurate prototypes are required. Sometimes we don’t want to send CAD to another 3D printing bureau service and then wait for the parts to be sent, we just want to be able to design, print, test, design, print, test etc and the FDM capability in our workshops is perfect for this. We’re not 3D printing experts but these are some of the conclusions we have drawn based on experience gained over the last few years.
Casting Pattern Design and Manufacture: Once the bracket CAD was complete and approved by Mervyn, we had some samples cast in aluminium by Harling Foundries Limited in Hastings, South East England. These were made prior to having the actual casting patterns manufactured. There’s quite an investment in getting the actual patterns machined out of tooling board so resolving any issues with the design prior to this step is ideal.
We used 3D printed casting patterns to create the one-off test castings. Once cast, these were machined and sent to Mervyn for further approval. We actually made a couple of changes based on this step including adding material to the inner diameter of the brake bracket band that clamps onto the handlebars. As some of the Yamaha YDSx bikes have handlebars with slight variance in outer diameter (some are manufactured with different outer diameters, some have been coated, chromed, etc) the casting pattern now leaves sufficient material that can be removed to suit the varied handlebar diameters – it’s much easier to remove material than add it back on. This design change only allows for a small variance in handlebar diameter but we wanted sufficient material to be able to adapt the bracket to slightly different sized bars. If the bracket is too large the pinch bolts have to take up too much of a gap and the bracket flanges can end up not parallel, or worse still, binding.
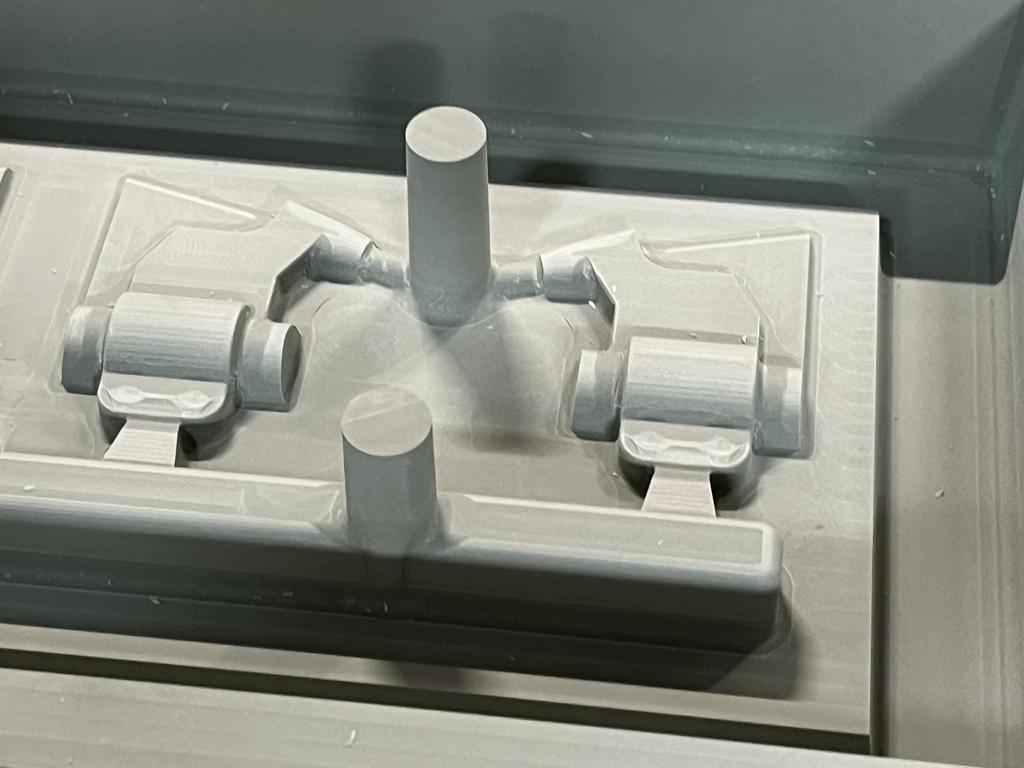
The raw CAD data is used to create the casting patterns however additional features must be added. Examples of this include a draft angle on any vertical sides, the actual part is scaled up to allow for contraction as the molten metal cools and shrinks slightly, fillets added to sharp internal corners, etc. Modifications such as these make the casting process possible, improve the quality of the finished part and can make the foundry’s job easier.
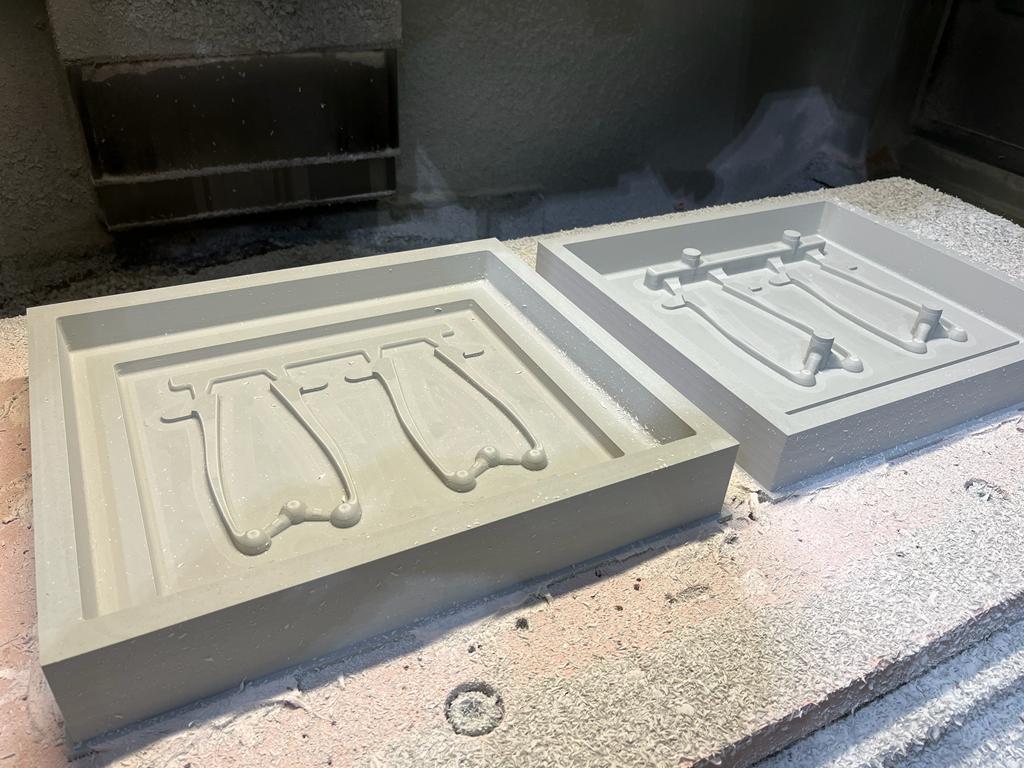
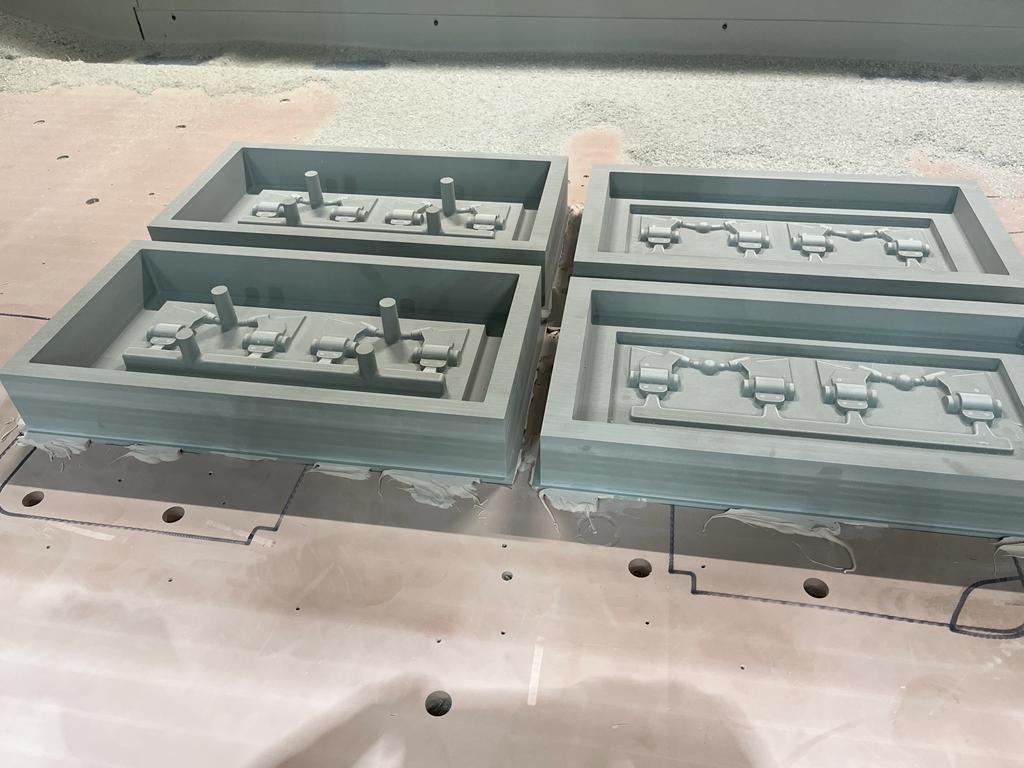
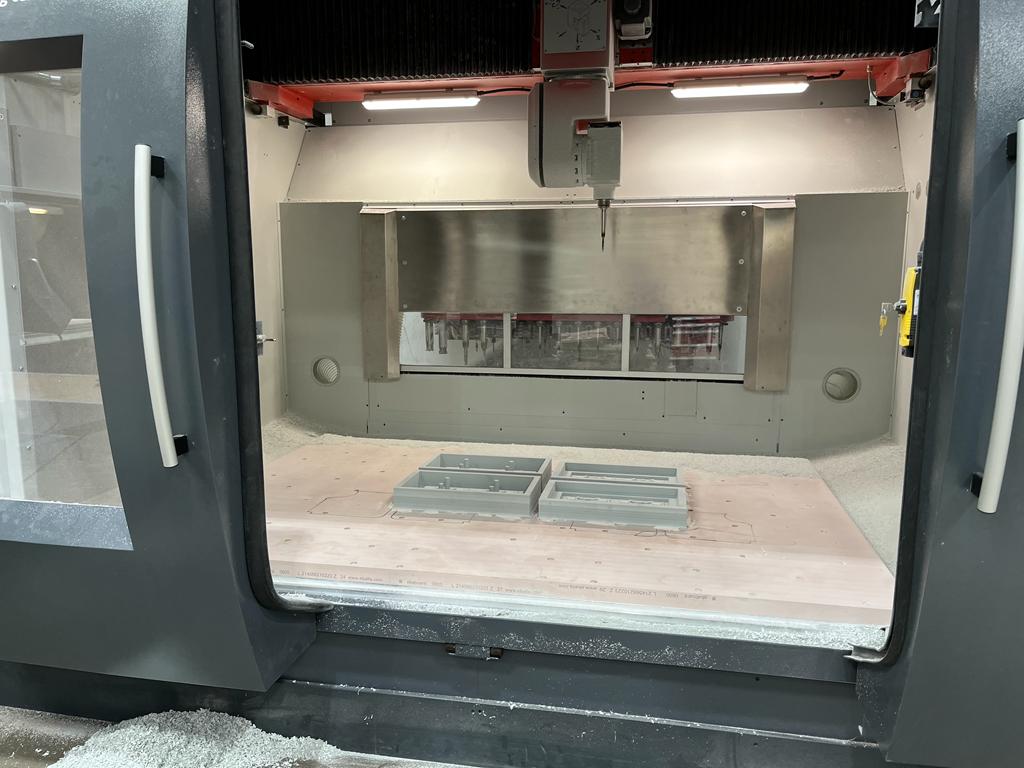
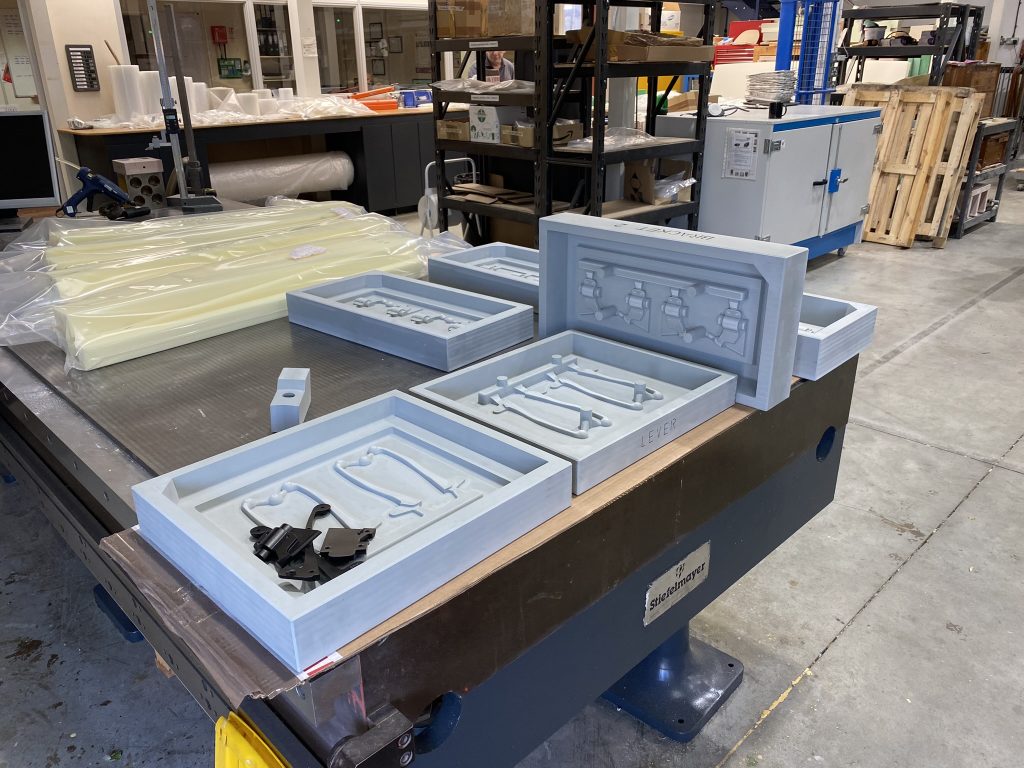
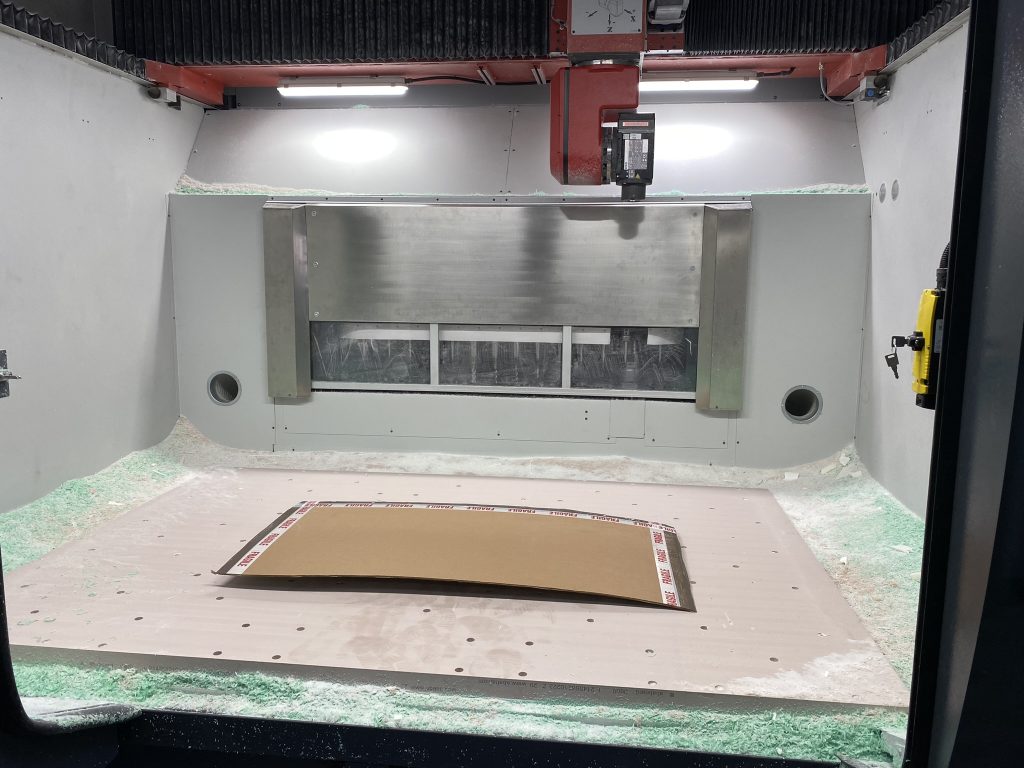
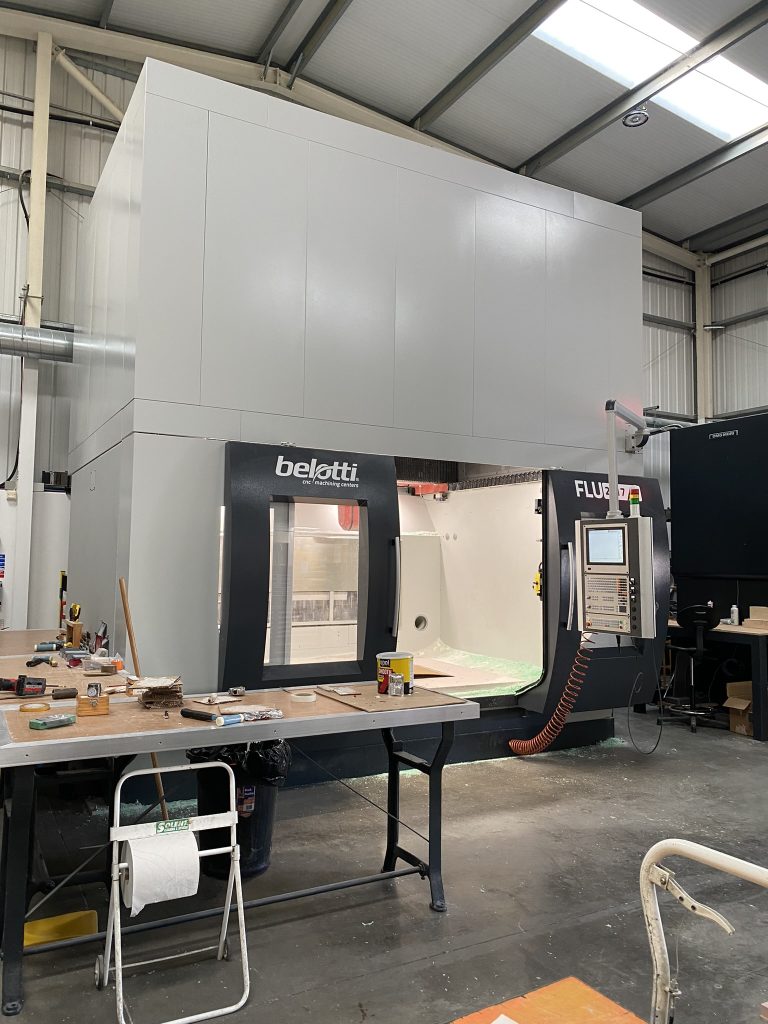
Kestrel Technologies have machined some beautiful patterns. Some pictures of these are included below including their latest, massive CNC machine. Kestrel Technologies have some very impressive machinery, including a 5-axis machine. The hope is whenever we visit they are in action – the size and scale coupled with the machining movement can be quite hypnotic to watch.
In short (massive over simplification here), Harlings will pack the pattern halves with sand. The resulting two sand moulds are removed from the patterns ready for the casting process to begin. The mould cavities will be filled with molten metal that cools to form the shape of the casting. Harlings will use modern casting methods, patterns and materials so the new parts should, at least equal, if not exceed, the performance of the Yamaha originals.
We delivered the pattens to Harlings a couple of weeks ago. The plan is to have a first batch of castings made from these patterns. Harlings will post process the castings by heat treating them which apparently makes them easier to machine. We will then complete the post casting machining and send them to Mervyn for approval. Assuming this goes well, we will have a further batch cast and finished to fulfil Mervyn’s original order. We plan to cover this next phase in a future post.
